Friday, March 5, 2010

Oh my...MY CHILD HAS A REAL ROOM!!!

Today is the day ladies.
I could not have done it without Julia, and Jay, (especially Julia), so thanks to them!

My son's room is now a lovely, Sam chosen, shade of green.


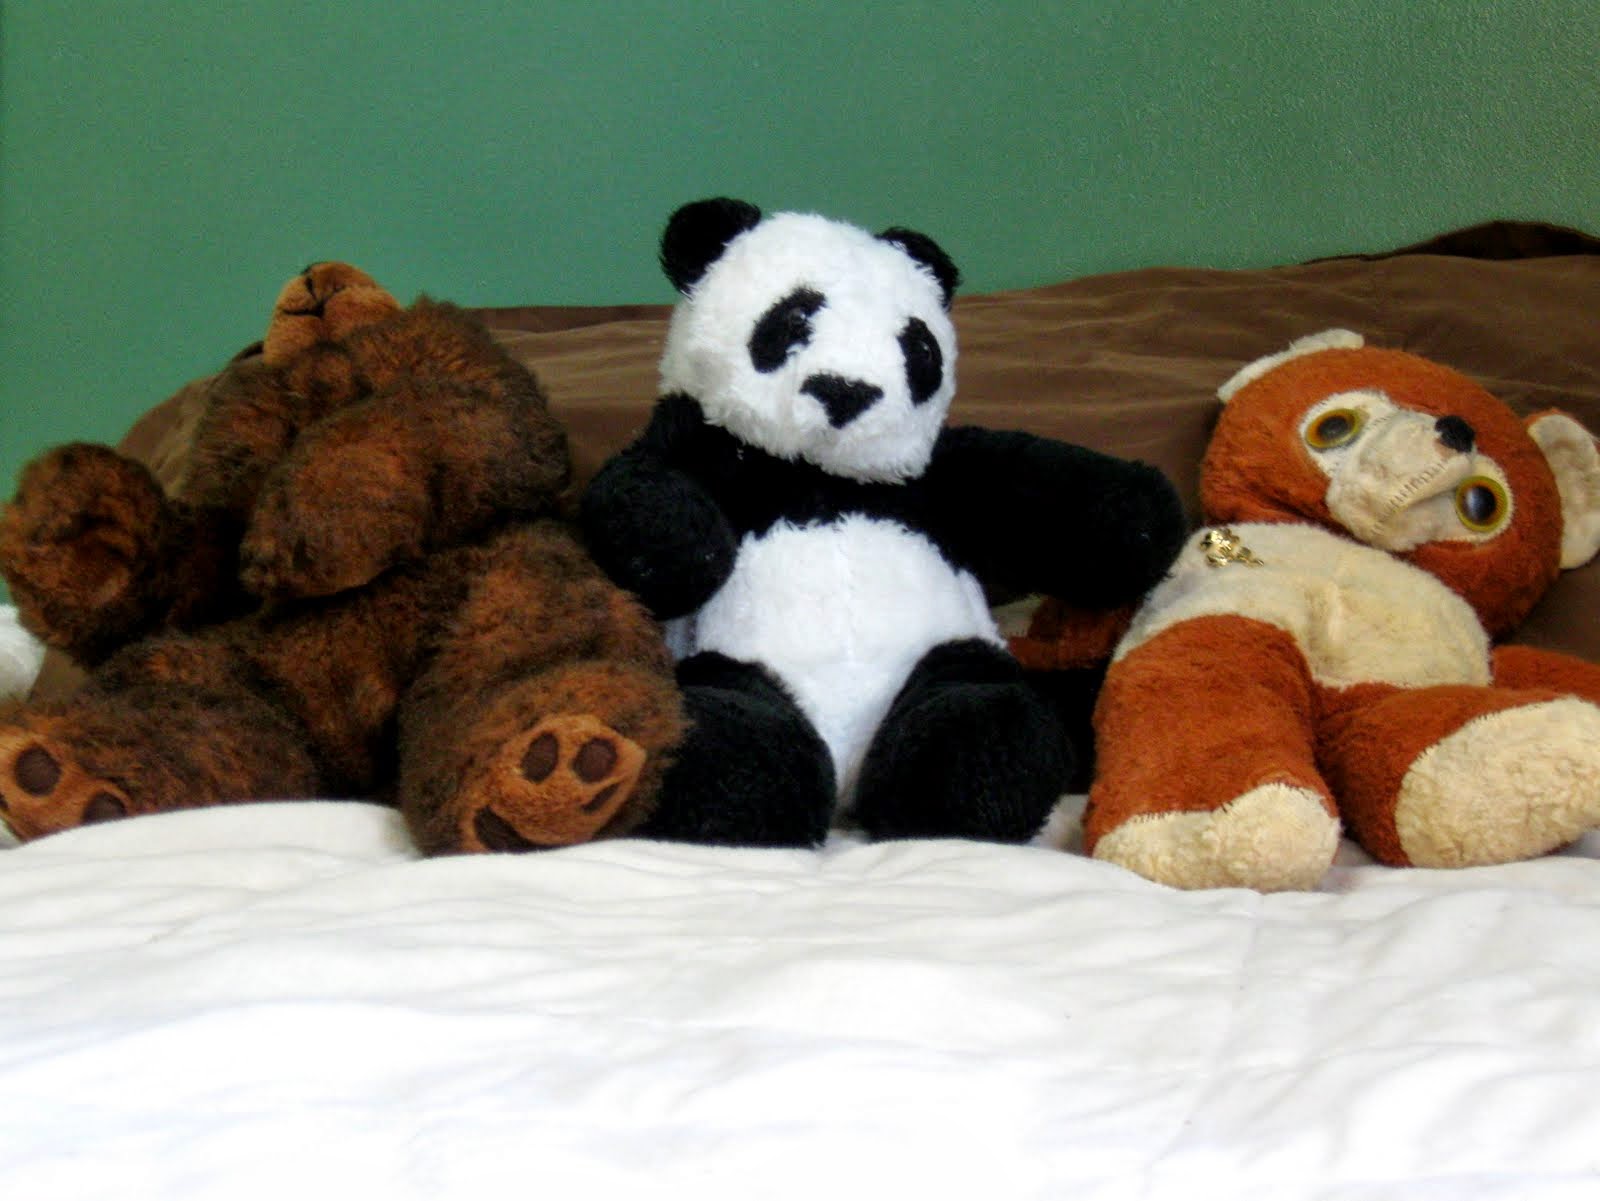
With little bears scattered about


 (Including one designed by the rooms owner)
Can't forget some stars and planets that glow in the dark. 
Perfect for falling asleep to, don't you think?


A cozy corner for my blooming little reader.


Some old friends to snuggle with on his much bigger bed!


A dresser full of clothes for the choosing


 A FINALLY ORGANIZED closet !
He woke up this morning, walked into his new room (which we decorated while he was sleeping).
He runs around opening doors, jumping on the bed, and just TOOK IT ALL IN!
He then says " Mommy, this is IN-CREL-IBLE!" 
Ladies...I am a proud Mama!
Have an IN-CREL-IBLE Day!

Thursday, March 4, 2010

Pride

Here is my lad, after we finished the primer, and first coat of paint in his NEW ROOM!


He picked out the color himself out of over 30 sample strips we brought home from Lowes.

He was very happy with the color! "Mommy, I PICKED THIS OUT!"

He was a HUGE help, and did a FANTASTIC JOB!

He used the big roller, the brush, and the little roller.

Believe it or not, we did actually get paint on the walls, and not just on our clothes and hands.


Here he is collapsed with exhaustion.


Jay and I put another coat of paint on after he fell asleep.
We plan on moving his furniture in after work today.  

I will post the finished room on Friday! I am not sure who is more excited, Sam or I?

 See you then!


Wednesday, March 3, 2010

It certainly is divine!


I made this great, super warm soft hat the night before.  
I made it with a thick alpaca blend yarn, and I love the color.


It is called the "Divine Hat" by Rheatheylia, and here is the pattern to share.  I found it on Ravelry!

Tuesday, March 2, 2010

Out of the mouth of My babe

Last night while I was snuggled up with Sam for our nightly routine, I found him twirling my hair.
I have a very small amount of mousy brown stringy hair, so I am not sure how he did this, but he did.  
It was in it's usual state of pulled back ponytail-ness.  

All of a sudden he says:

"Mommy, take this out, you look much more HANDSOME, I mean more beautiful with your hair OUT, I mean down."

I did as he wished, and he got this amazingly little smile on his face. 

He looked at me like I was the most beautiful girl he had ever seen.

Hmmm, is there something that I am missing?  Yes of course I fall back on my pony tail as an easy, get my frigging hair out of my face, fall back.  

 But am I trading convenience for style?

Jay swears to me that he thinks I am equally beautiful with my hair up or down...sure honey whatever you say.

Then again he didn't notice when I cut SIX inches off of my hair, so his opinion really is null and void.

SO ladies do you prefer your hair up or down, does your significant other care either way, and more importantly does it affect how you wear YOUR hair.   

Here are two photos taken today of me. Very high tech self portrait style with indoor light, and shabby non- artistic door in background.  I can hear you CRINGING Julia...sorry~

(please pardon the under eye bags...a genetic down fall which I have yet to retouch sucessfully)

Which do you prefer?


Monday, March 1, 2010

A Winter Wonderland

Let me begin this post by telling you that I am very SORRY for my sister Julia, who did not get to do what I did today, because she was at work, when I should have been.  
Let me also say that I am hoping that she gets to go do what I did today, this coming weekend.  

SORRY JULIA...I HOPE YOU STILL LOVE ME!

I SKIED THE SLIDES AT WHITEFACE WITH MY DAD!!!!

Here is a picture I took WITH MY CELL PHONE!  


My Dad was also kind enough to make a clearing of our driveway.

He used his SIXTY TWO year old tractor, affectionately named Ethel, after my dads Grandmother.


He also let the boys take the wheel for a few spins.


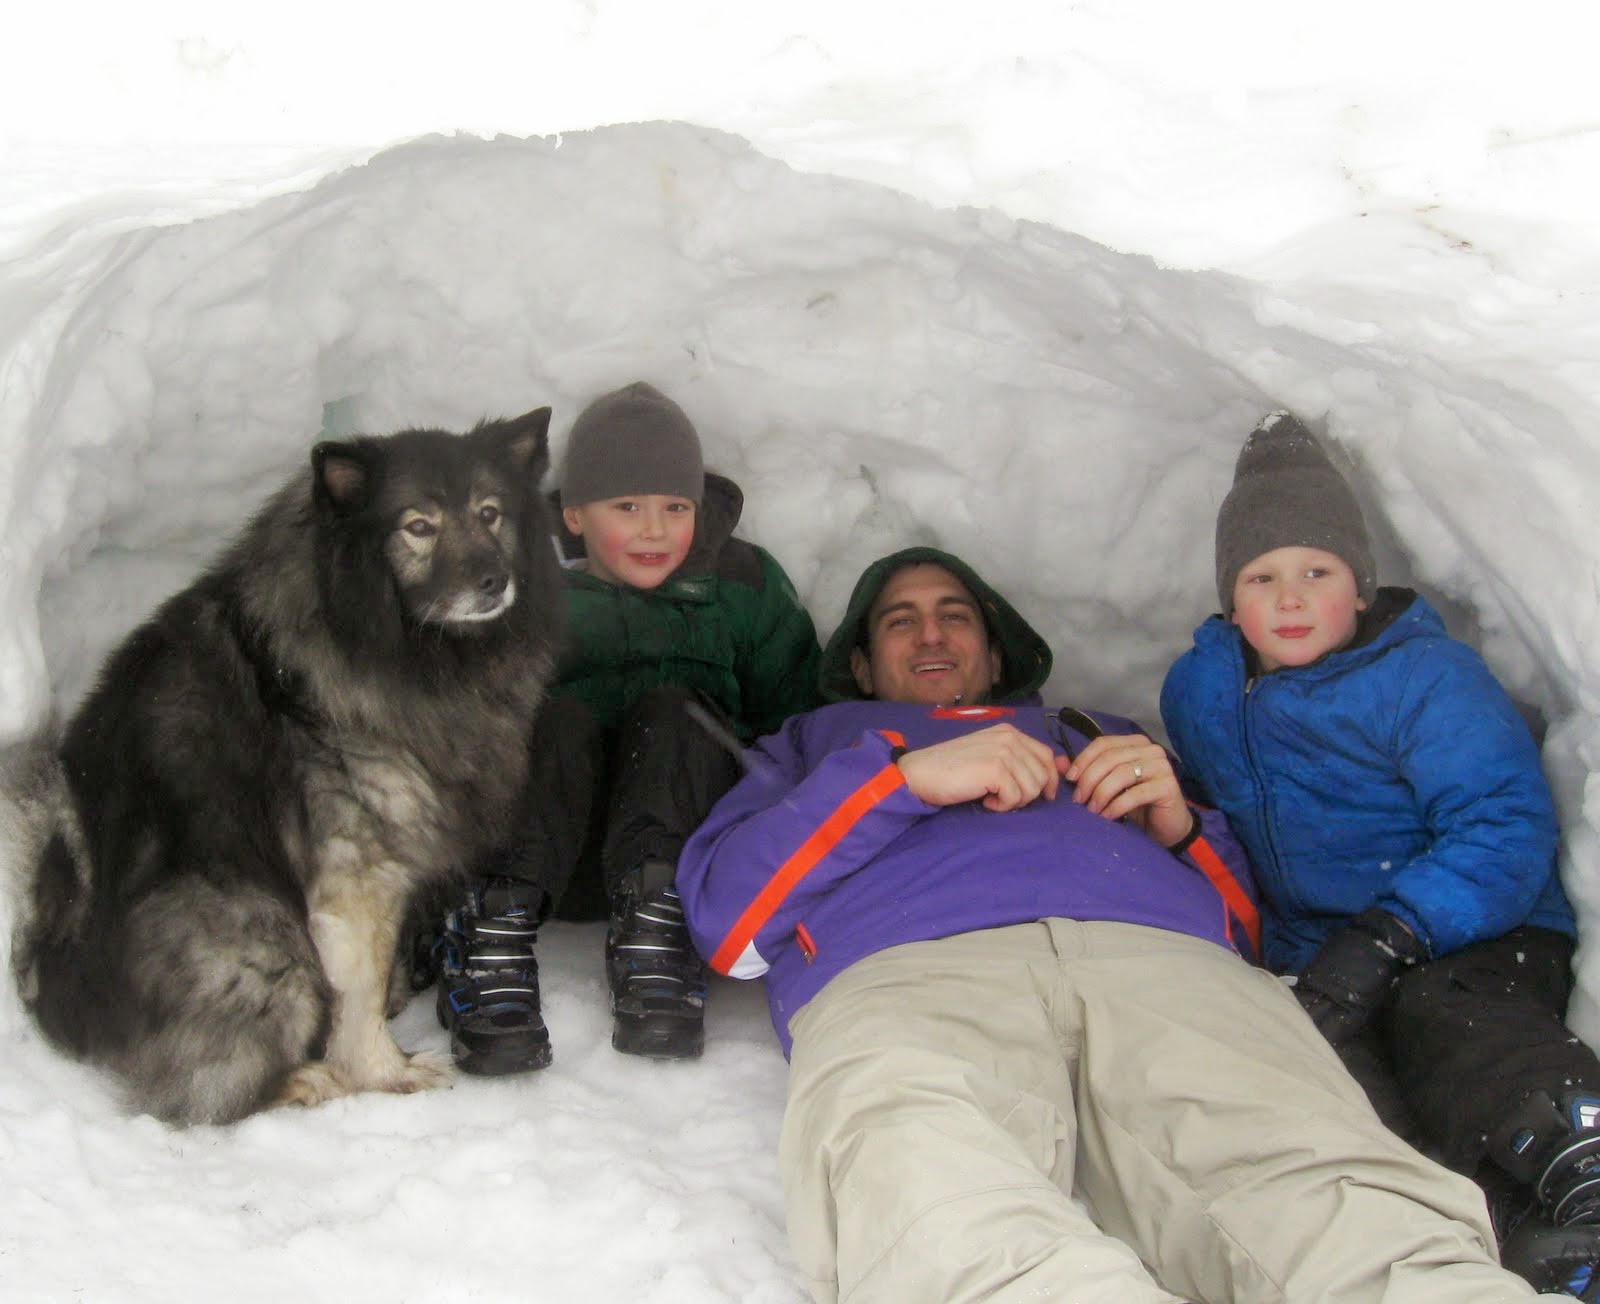
My husband and I then made an igloo with the boys out of the snow that my dad had piled up for this purpose.


The igloo rocks, and the boys, and Bear are in LOVE!


So thanks DAD, ETHEL, and JAY for making our day super!!!

P.S. Bear wanted to say hello...


Ohhh...I forgot...the newest issue of Rhythm of the Home
by the lovely Heather and Bernadette...go take a look! 

My "Patchwork Pillow", and Julia's "New Baby Blanket" are two of the projects in it.
There is a HUGE selection of amazingly great ideas for spring!

~Have a great day all~

Sunday, February 28, 2010

Ham and Cheese Calzone Recipe

Here is my super easy recipe for yummy calzones!

Ingredients:

2 loaves of frozen bread dough
Mozzarella cheese
Ricotta cheese (if you choose)
Ham
Cooking Spray
Marinara

Let the dough rise in a warm place beginning in the morning


Preheat oven to 425 Degrees F.

When the dough has risen 2 or 3 X original size, roll out the dough.  
Then do some fancy dancy pizzaman skills...LOOK HOW BIG IT GETS!


Cut into 6 squares, and place desired fillings in the middle


Pull corners of dough over the fillings, and into the middle, pinch closed


Use a serrated knife and cut slits in the top of the Calzones


Place on a tin foil lined, greased cookie sheet and spray the Calzones with the cooking spray


Bake in the oven for 15 minutes, or until golden brown


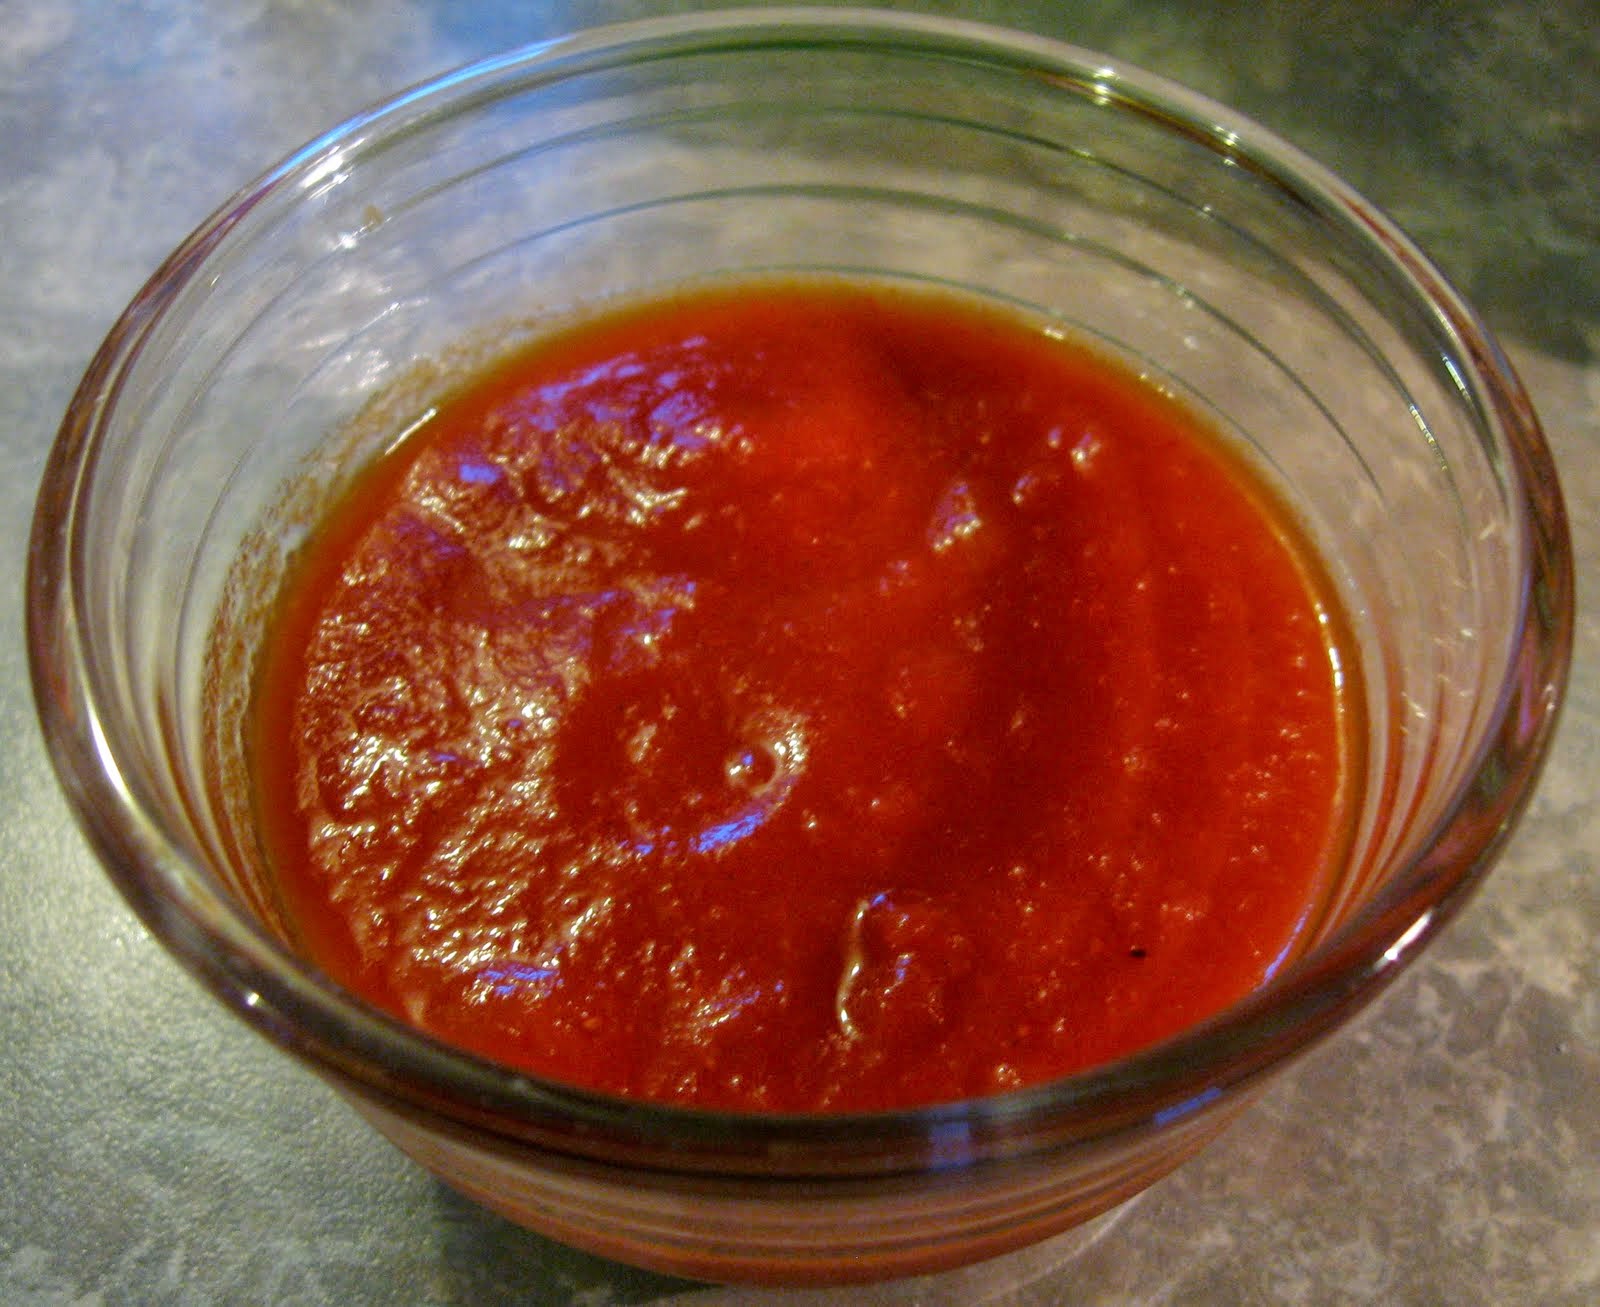
Serve with Marinara of your choice


Enjoy!

Saturday, February 27, 2010

Super easy, Super Delicious Garlic Chicken Alfredo Penne


Looks yummy doesn't it?  I have NEVER made this before, but it is very easy, and very SEMI-HOMEMADE'ish, (is that even a word?).
Well, here goes:

Ingredients:
2-3 large Chicken Breasts
1 Jar Classico (or similar) Alfredo Sauce
1 pound Penne noodles (my favorite)
2 tsp.Minced Garlic

Put a large pot of water on to boil, (MY WATER TAKES A YEAR AND A HALF TO BOIL)

Grill the chicken breasts, I used my small George Foreman-ish (there I go again) grill until the chicken is cooked all the way through (I USE A MEAT THERMOMETER FROM THE DOLLAR STORE). 
Let the chicken rest after grilling to keep those yummy juices in. 

While the meat rests, boil the noodles for 11-13 minutes or until al dente. 

Drain the noodles and rinse with hot water.  
While the noodles drain, pour the jar of sauce and the garlic into the pot the noodles boiled in. 
Let it simmer until nice and BUBBLY!

Add the noodles to the sauce, and cut up the chicken into cubes, and add to the noodles.  
Mix thoroughly, and simmer till heated throughout.  

Serve it up, and ENJOY!

P.S.  KID TESTED and APPROVED  (SAM HAD SECONDS!)

Friday, February 26, 2010

A Winter Cocktail

Ladies, I have a secret...I love to eat snow~gross some might say, but I love it.

I have been especially fond of it recently.  You see, I have been shoveling a LOT recently.  We have had a very mild winter, but over the past two days we gotten well over a foot of snow, and it is still falling.  I am a bit out of shape, ok a lot out of shape, and therefore get very thirsty while shoveling. What better way to quench the old thirst, but some clean, white, lovely snow. 

Today when Sam got home from school I made us some Winter Cocktails

Take a glass full of the freshest, whitest, purest snow you can find


Pour over the snow a beverage of your choice.  
We are partial to some extra healthy Diet Mountain Dew...LOL~


Voila...THIRSTY???

Try it...I bet you will be hooked.  They are like at home slushies~kids love them!

Here is Sam after many slushies!

Laura

Thursday, February 25, 2010

Potholder tutorial


I had a brainstorm today while taking my kettle for Apple Cider off the stove top...

I HAVE NASTY POTHOLDERS!  OK...should be singular, potholder.


I have had this one potholder for over 9 years...that is NINE!!!!

Look at how sad it is, worn, food smeared, and faded.

I had these small quilted pieces that I made at Christmas time.  I originally wanted them to be framed at some point, but never got around to it.


Today I decided that I would turn them into some hand little potholders. Much more practical than wall hangings don't you think???  HMMMMMM????

Inspired by the gorgeous potholders Julia received from Christina the other day, I thought I might try my hand at some.

So, here is my tutorial ladies, go whip some up, and keep those hands from getting burned

Take two coordinating pieces of fabric, and cut them to the size you would like the potholders.
(keep in mind you need a seam allowance)

Then take some batting, and cut two layers worth the same size as your cut fabric.


Next layer your pieces as follows...two pieces of fabric right sides together, then the two batting layers. Sew around the perimeter on THREE sides only. Leave a narrow side open to turn right side out.


This is how it will look after sew around THREE sides


Now turn it right side out so that the batting is between the two fabric layers.

Then take a 3 inch piece of your favorite ribbon


Turn in the edges of the open end, and place the ribbon just inside the turned in corner.
Pin across the entire edge


Sew up the pinned edge


Here is the finished edge


At this point you may quilt the entire surface, I chose not to so I didn't screw up my previously quilted look, but do as you like.  I am going to suggest that you hand wash the potholders that are not quilted though to prevent the batting from shifting.
Here are my three happy new potholders, ready for some hot food handling.


Wednesday, February 24, 2010

A summer bag!

The other day I was making a hat for my boy. I was with my Gram and Pa at a doctors appointment, and did not have my hat pattern with me.  As I was working the hat it became clearly apparent that it was not curling as my other hats had done, and I knew something was not right.  

So, in the spirit of improvisation, I decided to work with what I had and make a cute summer bag instead. 

I started with the round (hat) I had already made, about 8 inches in diameter.


Then I did a shell stitch in the next round.  I then did a row of half double crochet, and then did a picot stitch of a chain of 6 every 2 stitches, and did picot stitch for every round after that until the bag was at my desired length. 


I then finished off, and made a long chain of about a BILLION chains, give of take, just kidding, but I made it long enough to enable the strap to be doubled up on two straps. 


I then weaved it through the top row of the bag, and attached each end to the bottom of the bag at the edge of the center circle directly below where the exit points at the top.  Voila...  Confusing, but if you work it, it will make sense...I promise!

Then I stuffed it with all my goodies, and I am ready for the day


Please Note: my super cute wallet on top...bought from the lovely Vintage Fern at Etsy!


Have a great day everyone!