Showing posts with label sewing. Show all posts

Monday, December 12, 2011

Giveaway Day! Patterns for the taking!

So! I'm partaking in yet another giveaway day with Sew Mama Sew.... 

YAY!
Who doesn't like a giveaway?  Right?
I am giving FOUR readers the choice of any ONE pattern in our store!  
A bit about our store.


Adirondack Patterns is a collaboration between twin sisters Laura and Julia who's love of sewing and crafting for their children expanded into the creation of a store. Over the past 2 years, AdirondackPatterns has grown to include over 60 patterns and tutorials; including those on cloth diaper sewing, complete instructions on several variations of Waldorf dolls, clothing tutorials, and accessories for little ones. All of the patterns and tutorials are very simple to follow and almost all of them have detailed photos for every step of the process.

"Our sole purpose in sharing our tutorials at reasonable prices is to inspire and make it possible for other Mama’s to create handmade goods and toys for their little ones. Because every wee one deserves to have something handmade with love." 
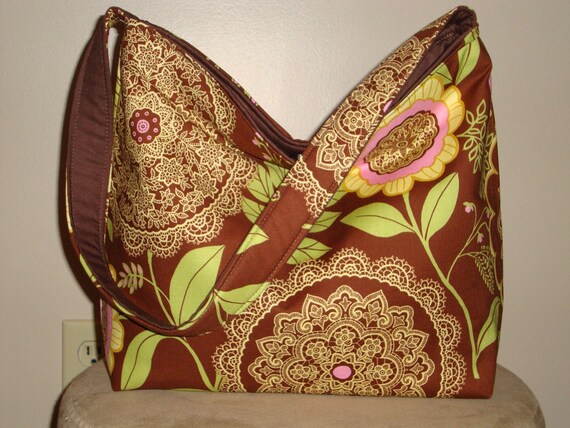
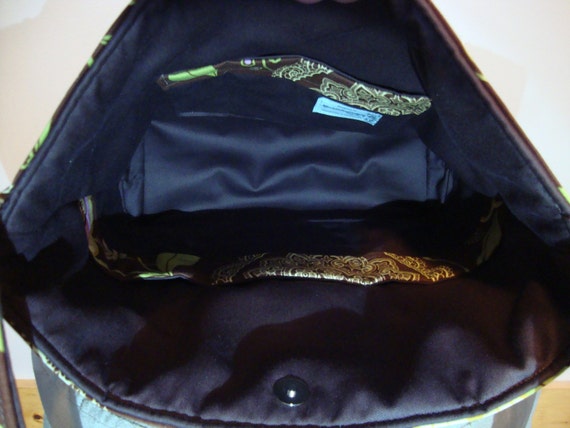
 A smattering of our patterns...

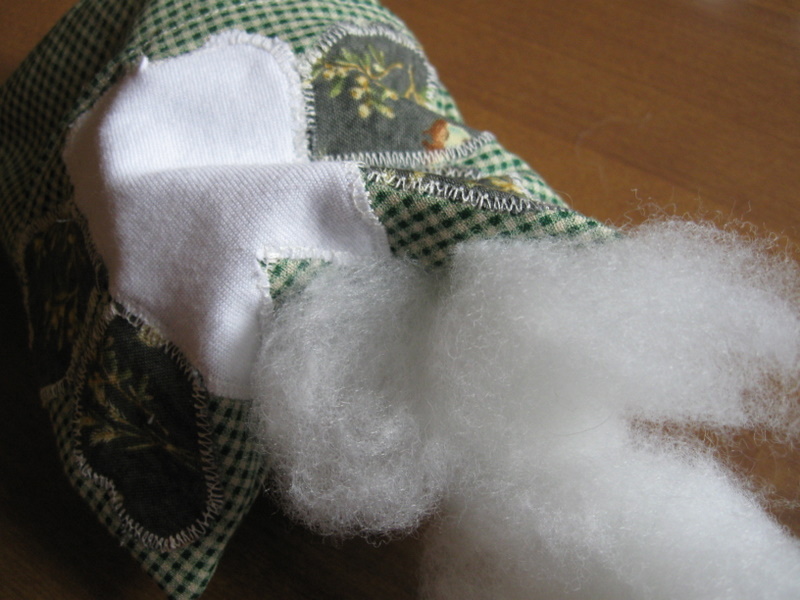
Easy newborn earflap hat pattern


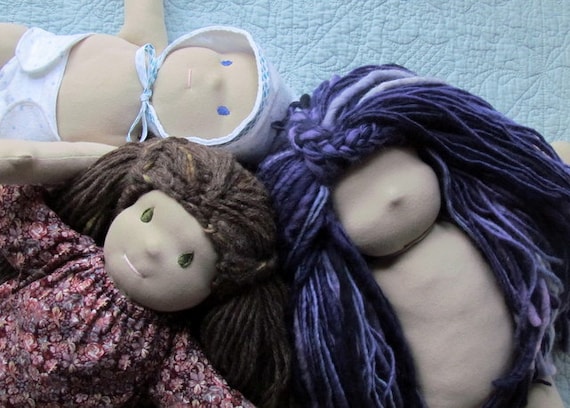
DISCOUNT PACKAGE.... Complete Waldorf doll pattern and tutorial package for doll hair and dress


 ::::::::
For a chance to win please leave a comment ( with your email address ) on this post. For an additional chance to win, either "favorite" Adirondack Patterns shop OR "like" our facebook page and leave an additional comment letting me know you did so! 
The giveaway will be open for one week. I will randomly choose the winners at night on December 16th and we will contact the winner via email.

Thursday, March 3, 2011

Sewing Bee Week 2!

In honor of Julia's Sewing Bee (see adorable button at right), it is crafting day for me!

I had cut out some bibs, burpies, and changing mats for Charlie last week in the hopes that I would be able to get to them this week.

GUESS WHAT?

I DID!

I lay them all out on the table and set to work.  It was certainly not as many as I am used to making, but a nice assortment for the little lad!


There was a lot of fluff everywhere, including on Charlie's growing home


Then I sewed my little hands off, and HAD A BLAST!


I made eight burpies

Six matching bibs
(pattern found in our shop)

 
And two travel changing pads to match last weeks project...the diaper bag


Hope over and join the sewing bee~it is AWESOME!

Next week...a nursing cover is in my plans ;)


Thursday, February 24, 2011

Happy First Sewing Bee

Today, I am very happy to announce that I am taking part in my sisters web wide sewing bee every Thursday!


She rocks!

Since finding out that Charlie is on the way, I decided that I would make some little boy things.  The first thing I desperately wanted to make was a diaper bag.  I wanted something simple, and sturdy, roomy, and without Winnie the Pooh, Bears, or Sparkles all over it.  I wanted something shall we say...ME

So, after perusing the net for patterns I came up empty handed, and since I CAN NOT FOR THE LIFE OF ME UNDERSTAND A PATTERN from say Simplicity, McCalls etc, I thought Hell, I can make this on my own. 

 You see, I have made close to 50 plus bags in the past, when Julia and I had our traveling farmers market store, and know my way around a bag.  I can pretty much look at a bag, and know how to make it.  So, I looked for inspiration, I found it here!

At Affordable Bag Designs on ETSY


It also has inner pockets!  Never done those before, but I decided to give it a go!


So, I washed my fabrics of choice, and bought some heavy duty interfacing.  Oh yeah, never used that before either, but I wanted a bag to shall we say...Stand on it's own!

Then I needed a size template.  This bag I bought a few years ago, and I love it, but I HATE THE OVER FLAP!  I want something I can get in and out of, and not have to flip a flap.  LAZY~huh?


Then I cut out the interfacing about 1 1/2 in bigger than the bag template (14 in. long X 18 in. wide).  I was going to turn this into a pattern / tutorial for our shop, but the light did not cooperate, and mama lost her ambition.  Oh well.

So, I figured out how to make pockets in the lining. I made 3 on each side of the lining, and they are 10 inches deep.  
Then I put the bag together, and I tell you what...I COULD NOT BE HAPPIER!
Perma Smile!


Yes, I have a few flaws in the bag, but over all it is lovely!


I love the colors I chose, and I love how the size is perfect for a diaper bag!


Sorry, the light was GOOOONNNNNEEEEE for this last shot.  

I thoroughly enjoyed my first sewing bee, and I encourage you all to go visit Julia, and join in every Thursday!

Laura

Thursday, August 5, 2010

Tooth Fairy Pillow Tutorial

I came up with this little tutorial for Sam since his first loose tooth is on it's way out.  I DO NOT think I am prepared for the look of my precious boy without his chicklet teeth.  That being said, here goes!

Begin with a sketch for a literal "tooth fairy", a tooth with fairy wings.  Cute huh???


Then cut out a pocket ( a smallish rectangle that the pieces for the "tooth fairy" will fit on with room for a seam on all ends


Then cut out  template for the pillow (same width as the pocket, but the height you can determine)


Then lay the pieces out on the pocket, and then remove all but the tooth.  Sew the tooth to the pocket using the zig zag stitch all the way around the perimeter


Then sew the seam for the top of the pocket.


Then sew on the fairy wings, and make sure you go all the way around each piece using the zig zag stitch again


Now, cut your loose threads, and place the pocket on top of one side of the pillow at the base of the pillow piece...this will form the pocket.


Then lay the other piece of the pillow on top of the pocket, but UPSIDE DOWN!


Stitch all the way around the pillow perimeter, but leave a 1 1/2 in. opening for turning right side out, and stuffing


Turn right side out


Pop out corners using a scissor or pencil


Stuff loosely


Free hand stitch or machine stitch the opening closed


Last but not least, hand over to a very excited little person who is now hoping his loose tooth was more loose!


Thursday, November 19, 2009

DO NOT TRY THIS AT HOME...UNLESS YOU ARE BRAVE!

Today while I was making these little lovelies


my baby BROTHER started acting up and being a naughty boy. Not even a year old yet, but man was he being very ornery and punkish. I was having none of it so I took matters into my own hands. Here is what transpired


Please excuse the self video, and the cut off end...battery died you get the idea~

After my handiwork he is purring like a kitten and I feel very accomplished and happy!

Here is to a happy day to all my blogging buddies

Sorry about the double video post too...I can't unembed it~